CloudPanel with Ghost
Why might you want to install a Ghost Blog on a VPS or Dedicated Server running CloudPanel?
Here are my reasons:
I prefer to use a graphical interface for server and site administration. I’ve used most of the web hosting control panels at one time or another.
In comparison to the rest, CloudPanel is very slim and minimal and uncluttered. It has every feature I need, presented very simply and intuitively. And that’s it. It has nothing I don’t need.
I develop and host and and manage many Ghost blogs, Wordpress sites, Drupal sites, and other types of sites as well as Discourse forums. I really only need one server where I can host all of my Ghost Blogs and Discourse Forums right along side my Wordpress and Drupal sites. (I don’t want to pay for and maintain a separate server for each instance of Ghost.)
CloudPanel includes (right out-of-the-box) built-in NodeJS, Nginx, and a simple interface for setting up and managing Reverse Proxies which are necessary in order to run one or more instances of Ghost on the same server or with other types of websites.
The Ghost team (and the Ghost forum staff) do not provide support for alternative server environments like Cpanel or Plesk or (as in this case) CloudPanel, or others that rise up out of the command line.
So I thought I’d share my setup and my process in case there are others who might find it useful.
This procedure installs the development version of Ghost. The official procedure for installing the production version are provided on CloudPanel.io
[If anyone tries this method, please do let me know if/how it works out for you, or if I can improve this tutorial! ![]() ]
]
If you already have CloudPanel up and running on your server, you can skip down to In a Browser, Log Into CloudPanel
Get a server, install Ubuntu
Here is my server setup hosted on Hetzner:
- AMD Ryzen™ 5 3600 CPU
- 2 x 512 NVME SSDs
- 64 GB of DDR4 RAM
However most any commercially available VPS or Dedicated Server (as recommended by Discourse for self-hosting) will do.
In the Hetzner Server Manager (click-to-install) → Install Ubuntu 22.04
In Putty (or other terminal) install CloudPanel
→ Before we run the CloudPanel installer, we need to update the server and install the required packages…
apt update && apt -y upgrade && apt -y install curl wget sudo
→ Then we run the CloudPanel installer with our preferred Database Engine (Here we’re using MariaDB 10.11)…
curl -sS https://installer.cloudpanel.io/ce/v2/install.sh -o install.sh; \
echo "3874fff99744cf3afe6f533013282e87c95640e128d1d3998666e2929dc12978 install.sh" | \
sha256sum -c && sudo DB_ENGINE=MARIADB_10.11 bash install.sh
In a Browser, Log Into CloudPanel
→ We can now access our CloudPanel in a Browser at https://000.000.000.000:8443 (of course replacing the 000.000.000.000 part with your actual IP Address.)
(For security reasons, access CloudPanel immediately to create the admin user. There is a small time window where bots can create the user.)
→ We ignore the self-signed certificate warning and click on Advanced and then Proceed…
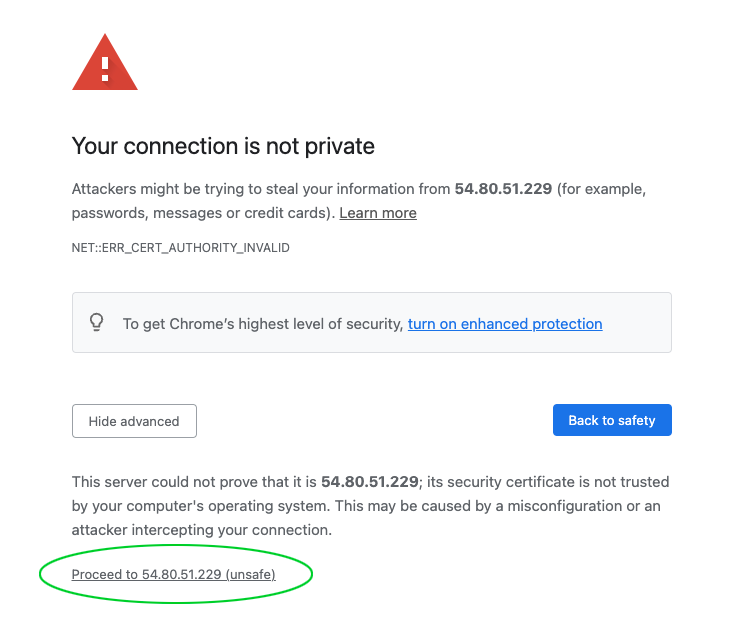
We arrive at the Admin Account creation form. Follow the instructions (remember to write down your CloudPanel admin username and password.)
Once we are logged into the CloudPanel we are ready to create our Ghost site.
The Official CloudPanel Ghost Install Guide (Production Site)
- Logging in via SSH with the Site User:
Switch User Using su Command. In the terminal, type this command:
su - usernameTake note to replace “username” with the name of the user you want to switch to. Enter the password for that user when prompted.
To Return to the Original User (Optional). If you want to revert to your original user, type exit and press enter.
Starting Ghost
In Putty or other Terminal, log into your Site User CloudPanel account and type…
cd htdocs/yourwebsiteurl.com
Enter
ghost start
Enter
Install PM2
Remove/Delete PM2

Updating Ghost
In Putty or other Terminal, log into your Site User CloudPanel account and type…
cd htdocs/yourwebsiteurl.com
Enter
ghost update --force --no-setup-linux-user
Enter
To Allow Site in External iFrames
Do this in Cloudflare…

The Unofficial Guide (Development Site)
In CloudPanel, Create a Node.js Site
For my Ghost site I am using my (sub)domain name blog.jen.do, so from now on wherever you see that in the rest of these instructions, replace blog.jen.do with your actual domain name (for example, blog.yoursite.com)
→ Of course, firstly, the DNS A record of the domain or subdomain we are using here needs to be pointing to the same IP address as our CloudPanel.
I use Cloudflare nameservers so I go there to point my domain or subdomain’s A Record to the IP Address of my CloudPanel.
While I’m there I also download a Cloudflare SSL Origin Certificate for the primary domain, which contains 2 blocks of code: the Certificate and the Private Key. Later in the process I will paste these into the fields for importing the certificate in the SSL/TLS area of my new site’s settings in CloudPanel.
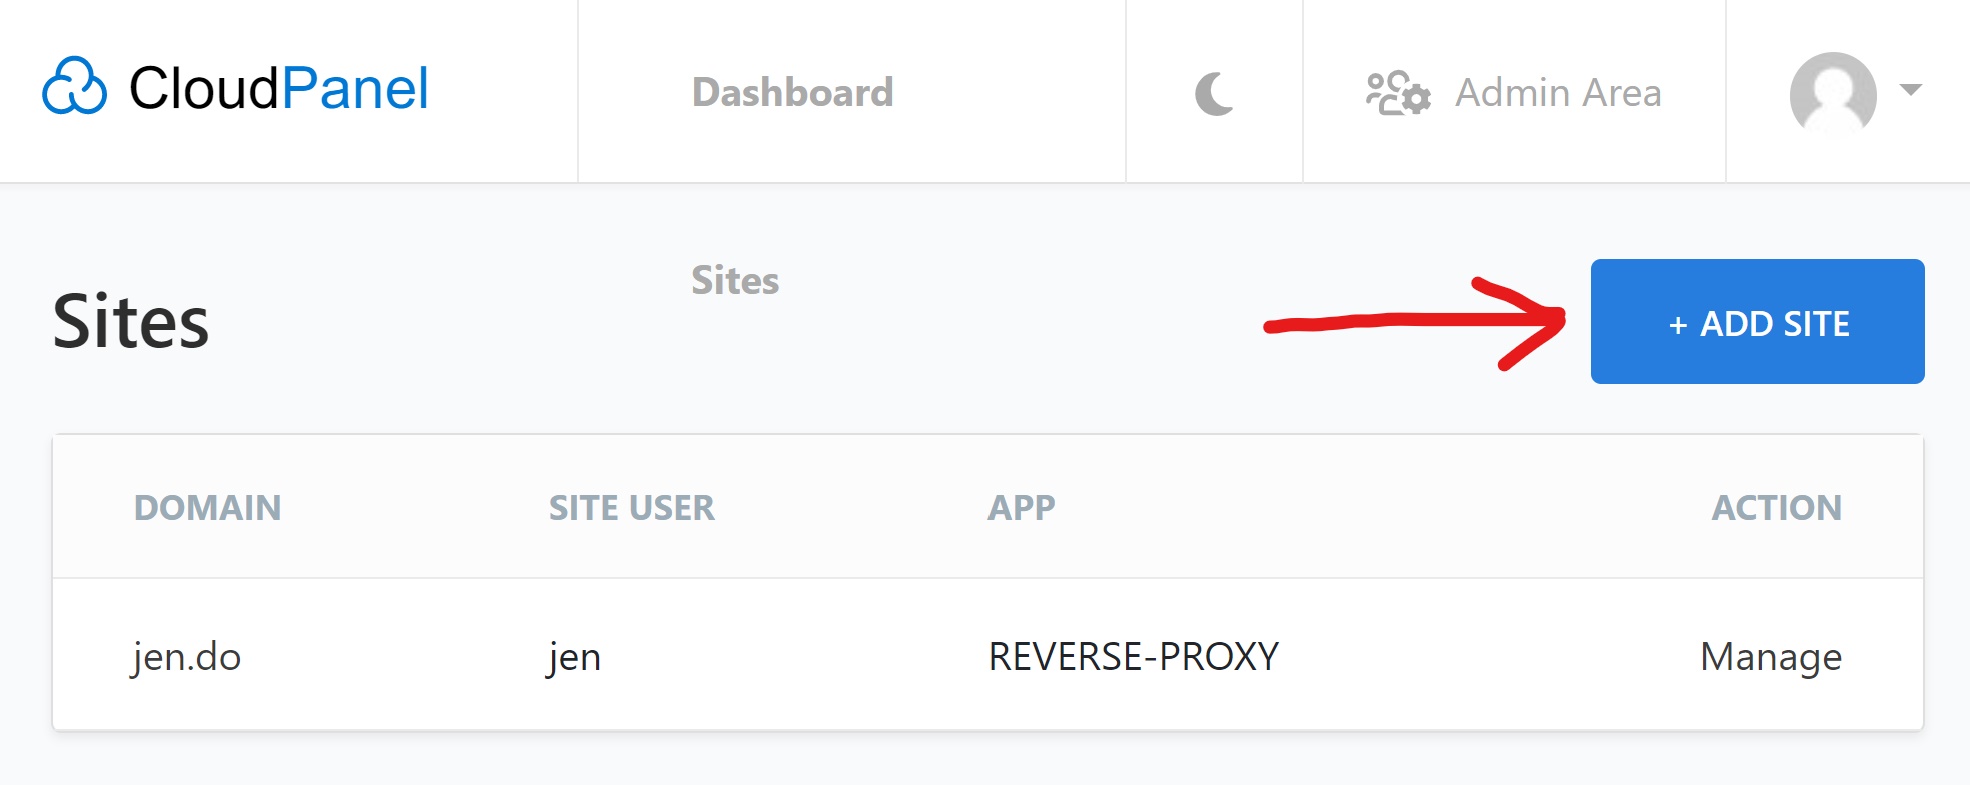
→ In the Sites area of our CloudPanel we click the + Add Site button…
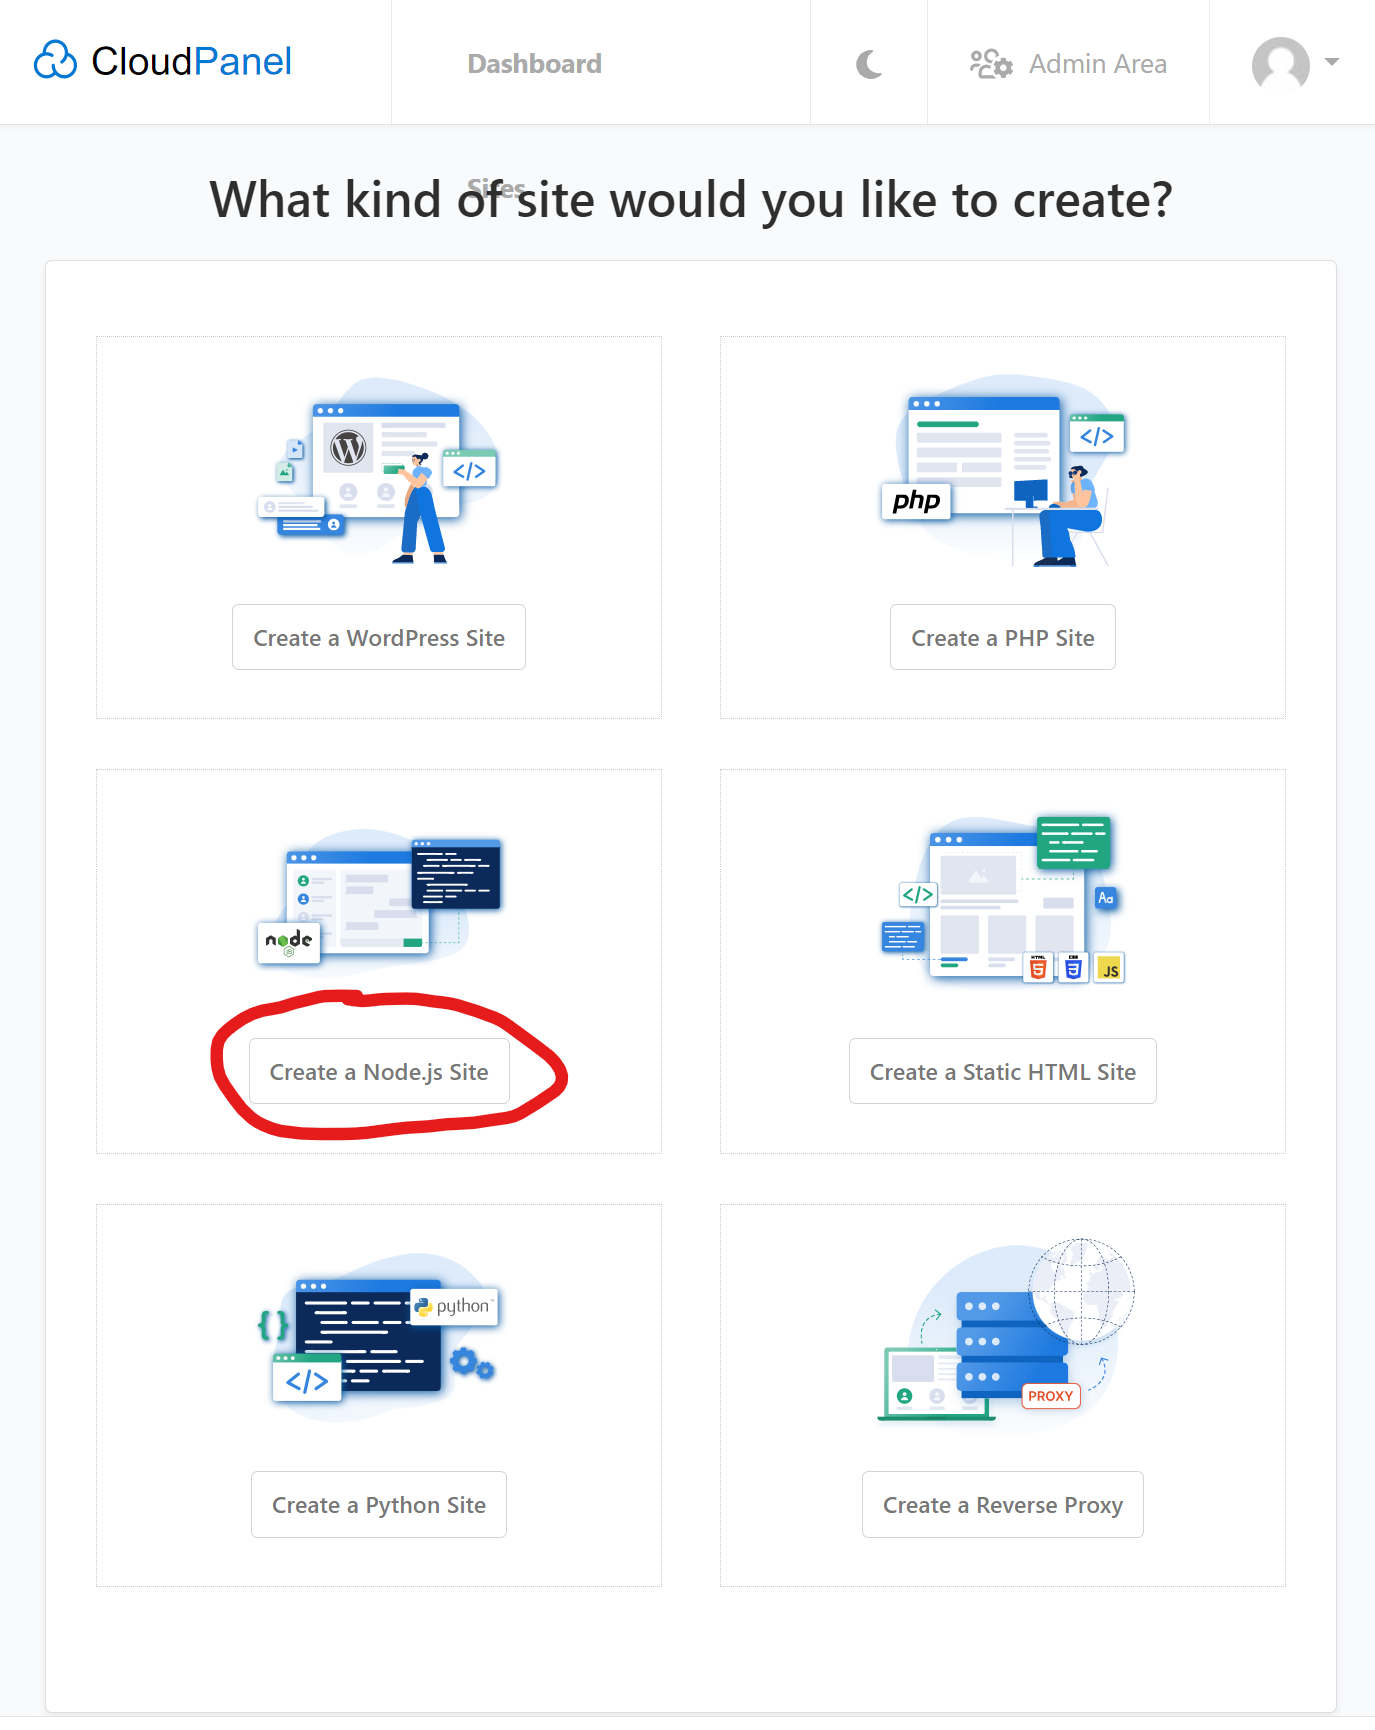
Then we click the Create a Node.js Site button…
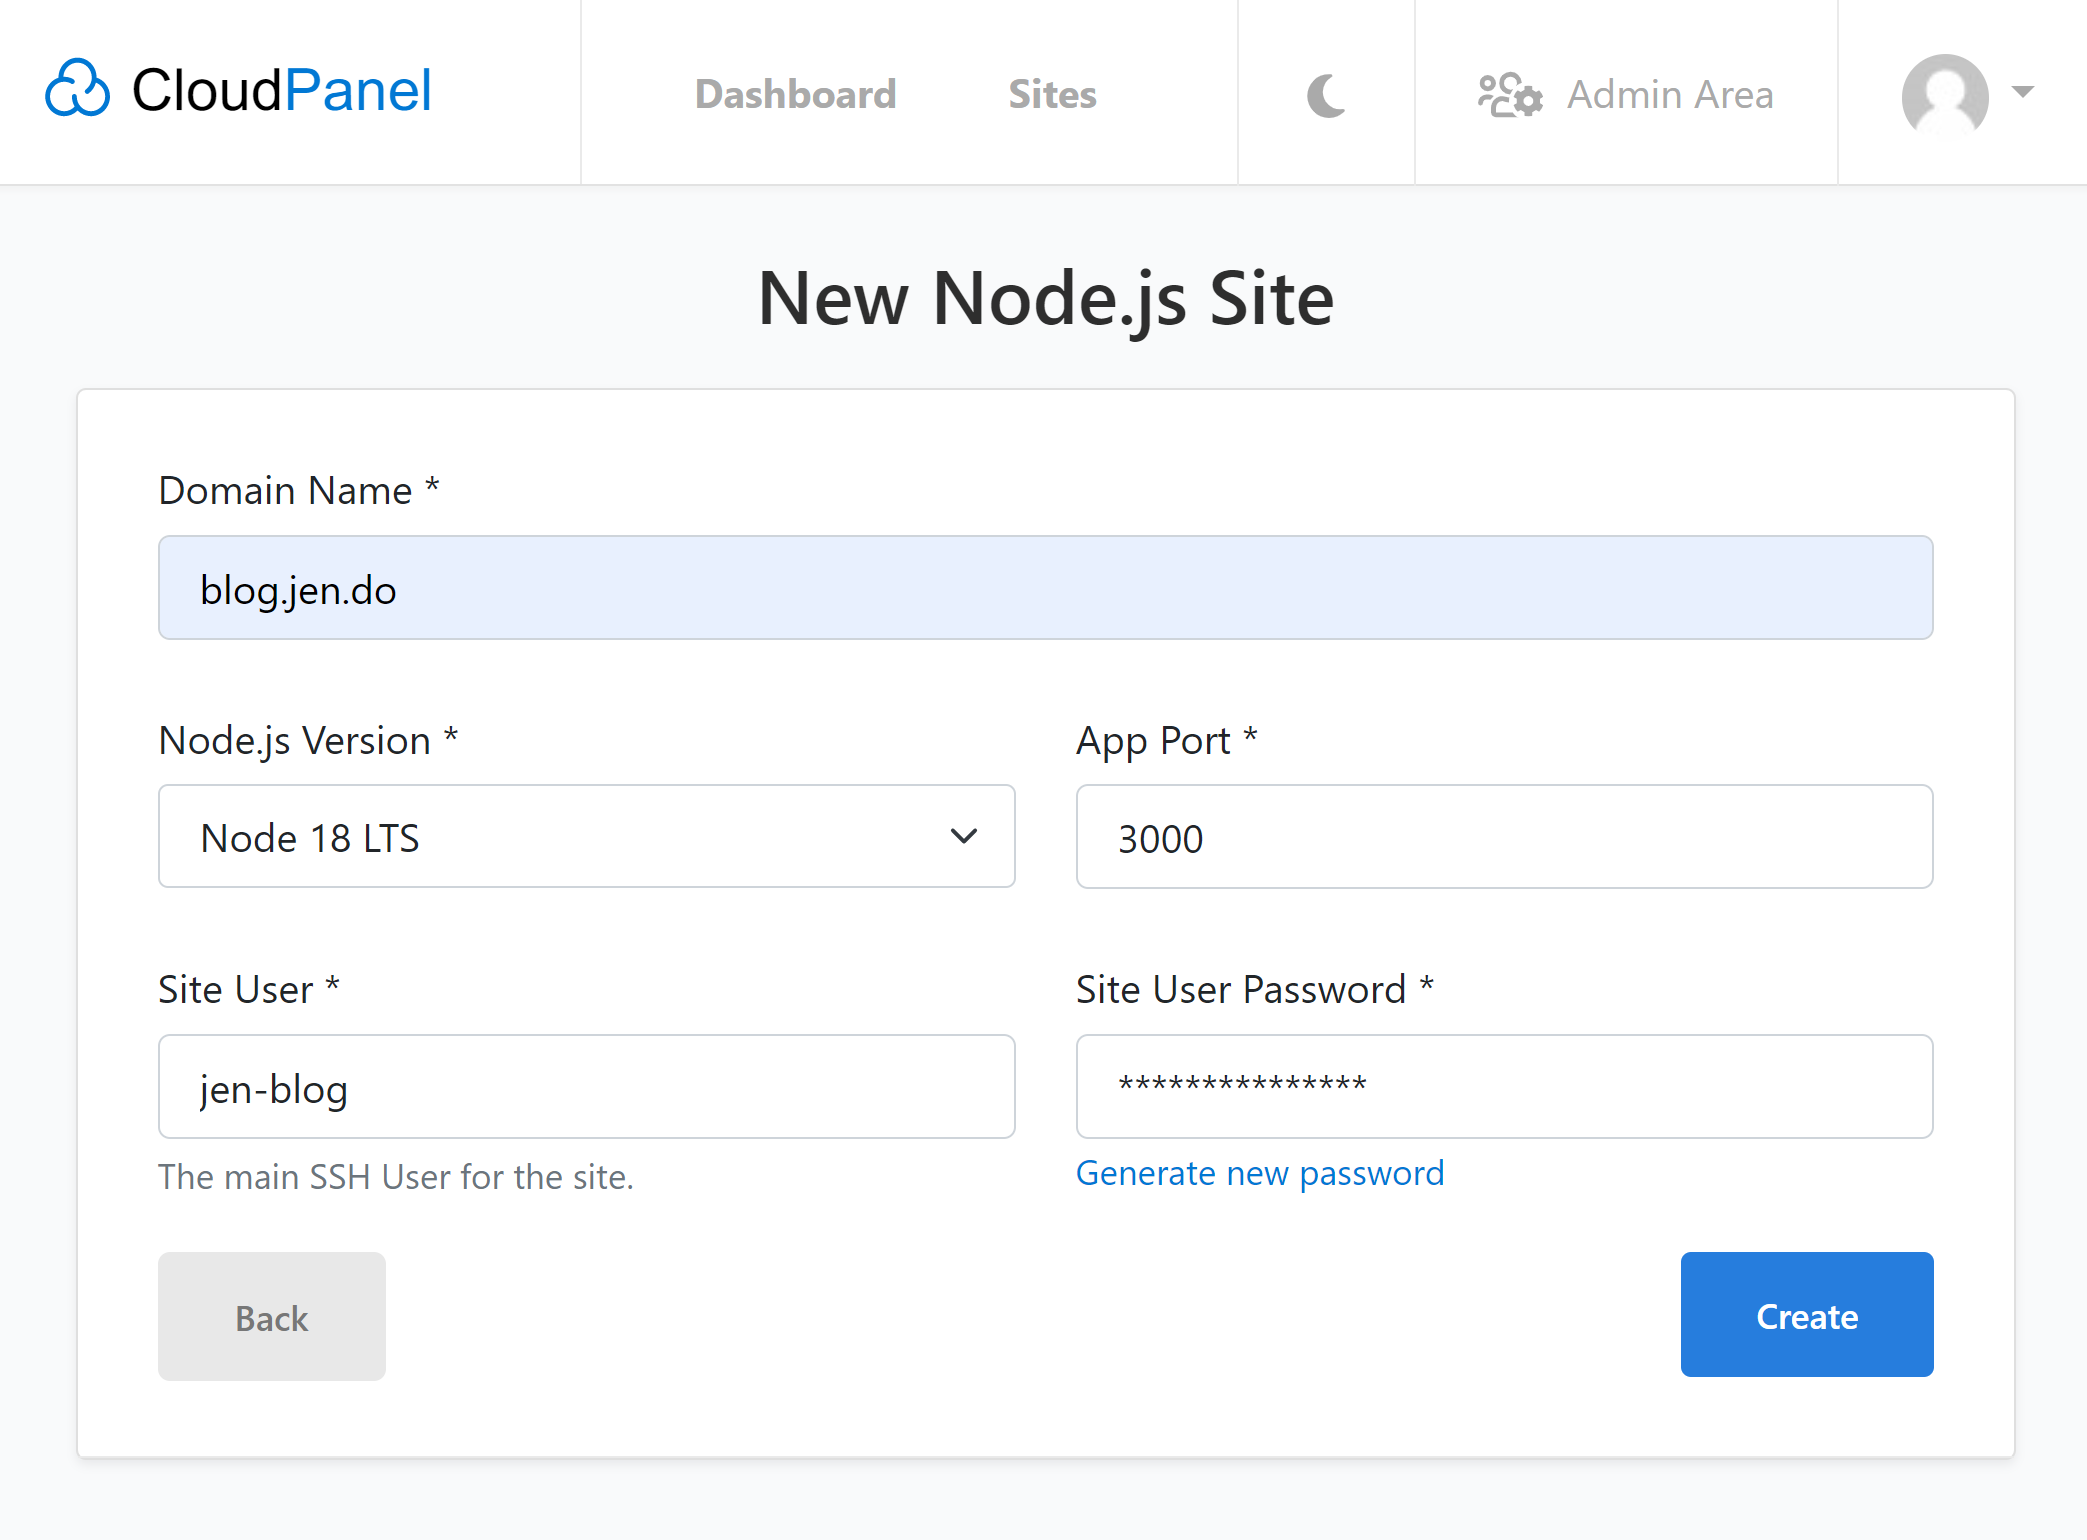
Next we fill in the Domain Name and write down the information in all of the fields for later use.
[Note: The Node.js App Port always defaults to 3000 upon the creation of a new site. However we need to change this number for any additional Ghost sites or other Node.js Apps we subsequently install in our CloudPanel (for example to 3001 and then 3002 for the next one, etc.) Thankfully, we will get an error when we click the Create button to remind us that port is already in use if we try to re-use the same port for more than one site.]
Next, We Install Ghost
First, in Putty (or other terminal):
Login using the Site User (The main SSH User for the site) and the Site User Password (we wrote those down earlier from the “New Node.js Site” form in CloudPanel.)
Once you are logged into the terminal, run these commands…
cd htdocs
npm install ghost-cli@latest -g
rm -rf *
ghost install local
Second, in the CloudPanel File Manager for the Ghost site
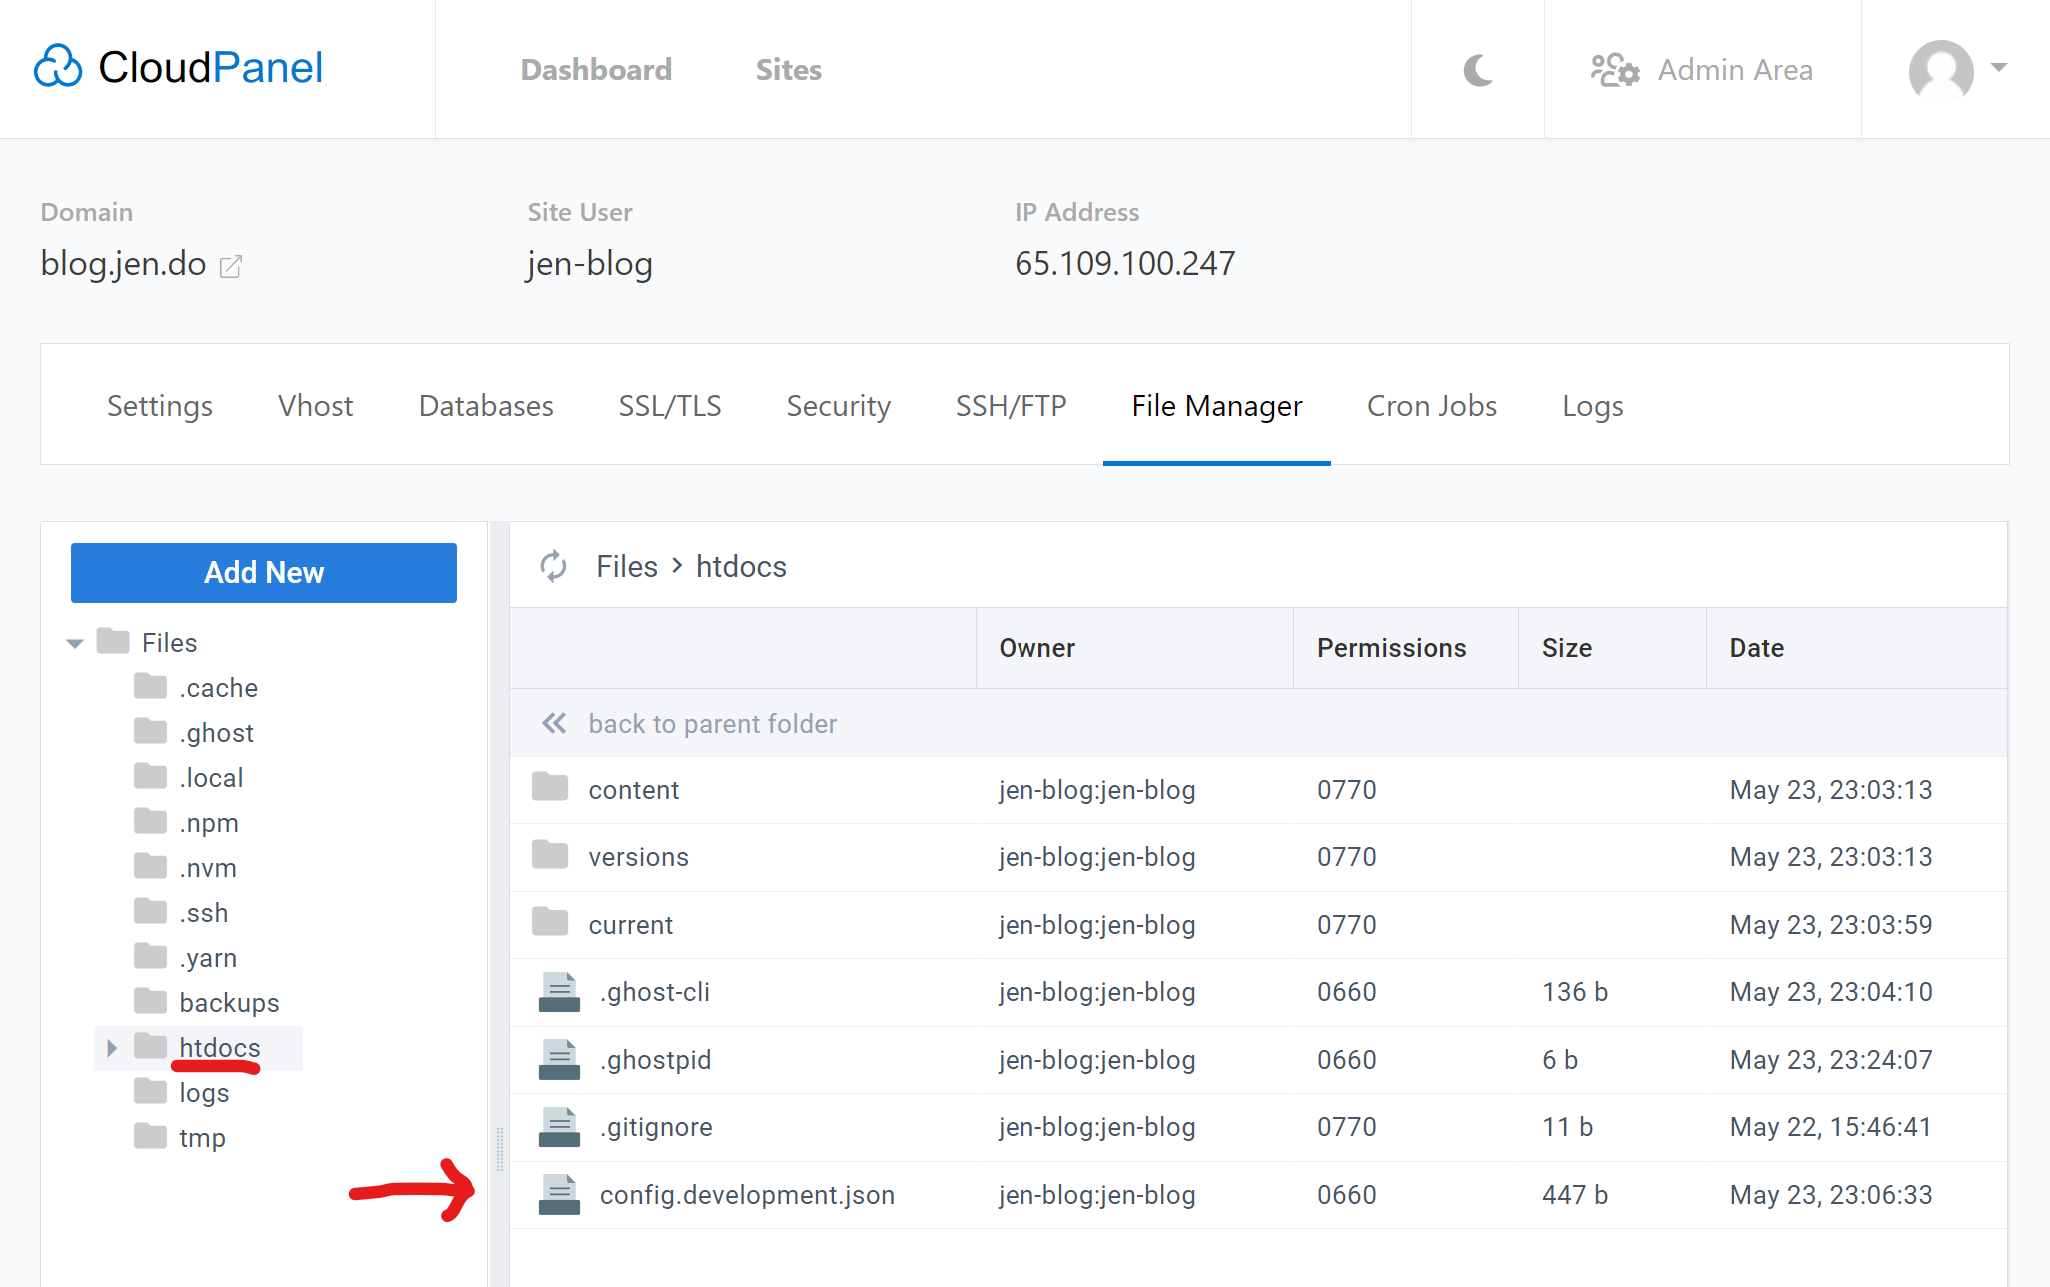
→ In the htdocs folder…
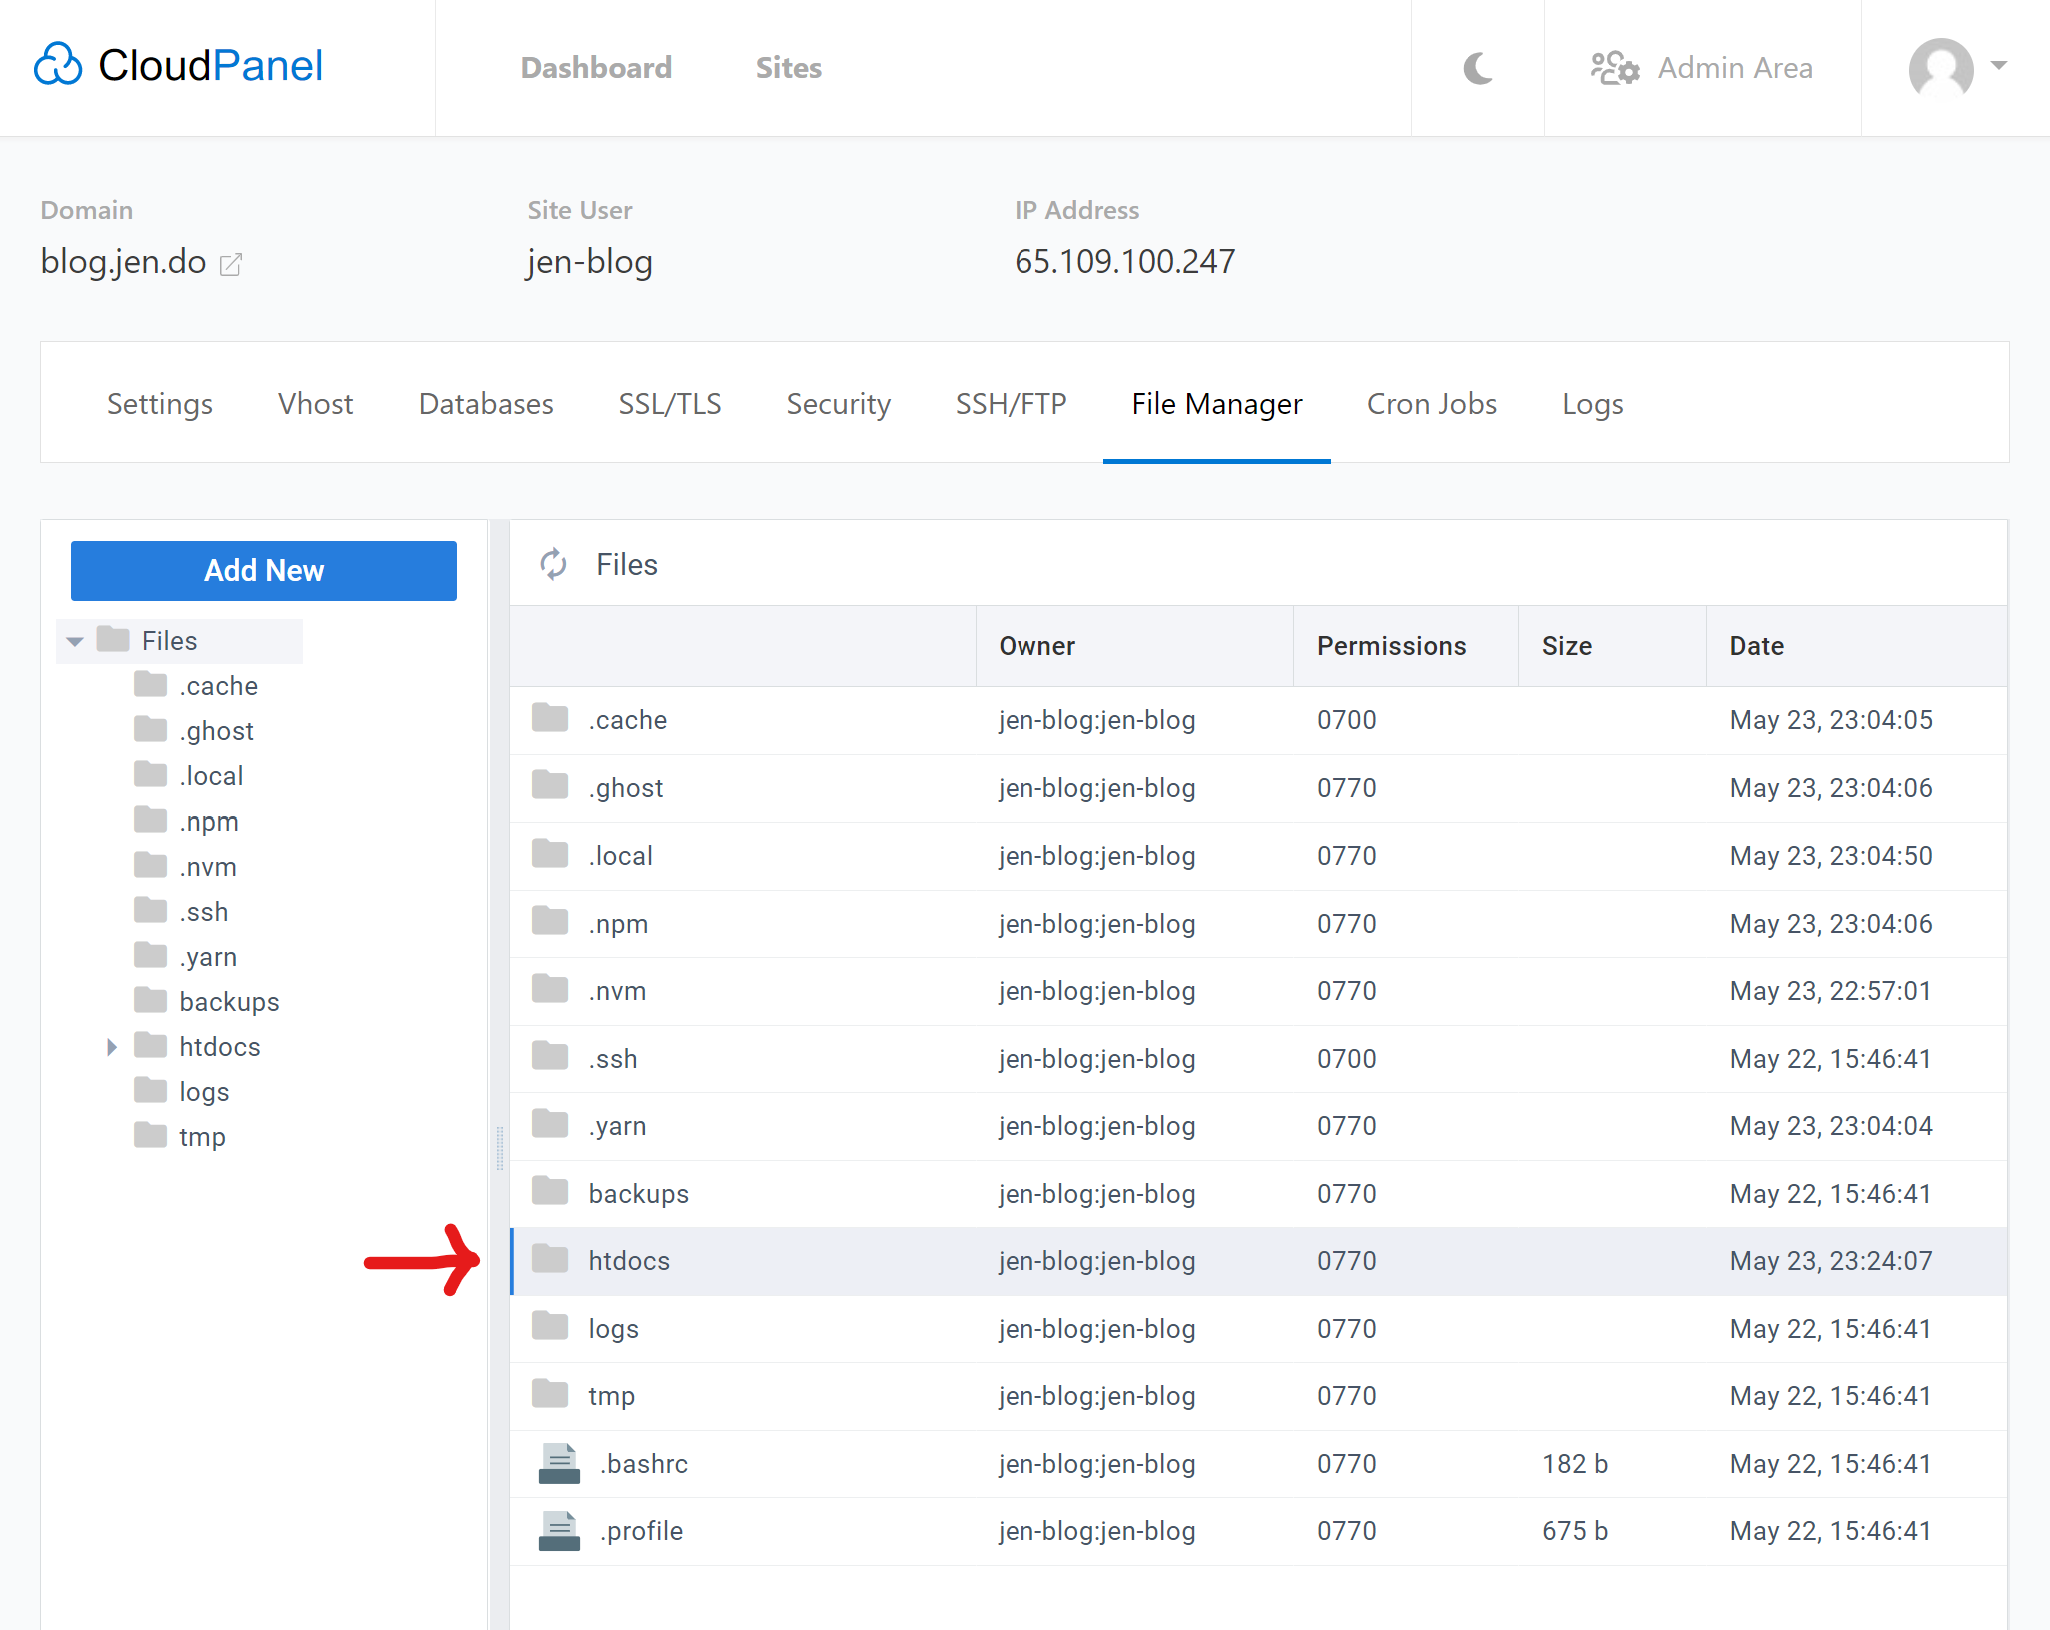
→ Find the file config.development.json…
(Alternately, instead of using the CloudPanel File Manager, if you prefer, at this point you can simply type
nano config.development.jsonin Putty or other terminal, as you should still be in the htdocs directory)

We need to change 2 lines in this file, the:
“url” (to match the URL of our new site, including the https://)
and the
“port” (to match the App Port we wrote those down earlier from the “New Node.js Site” form in CloudPanel.)
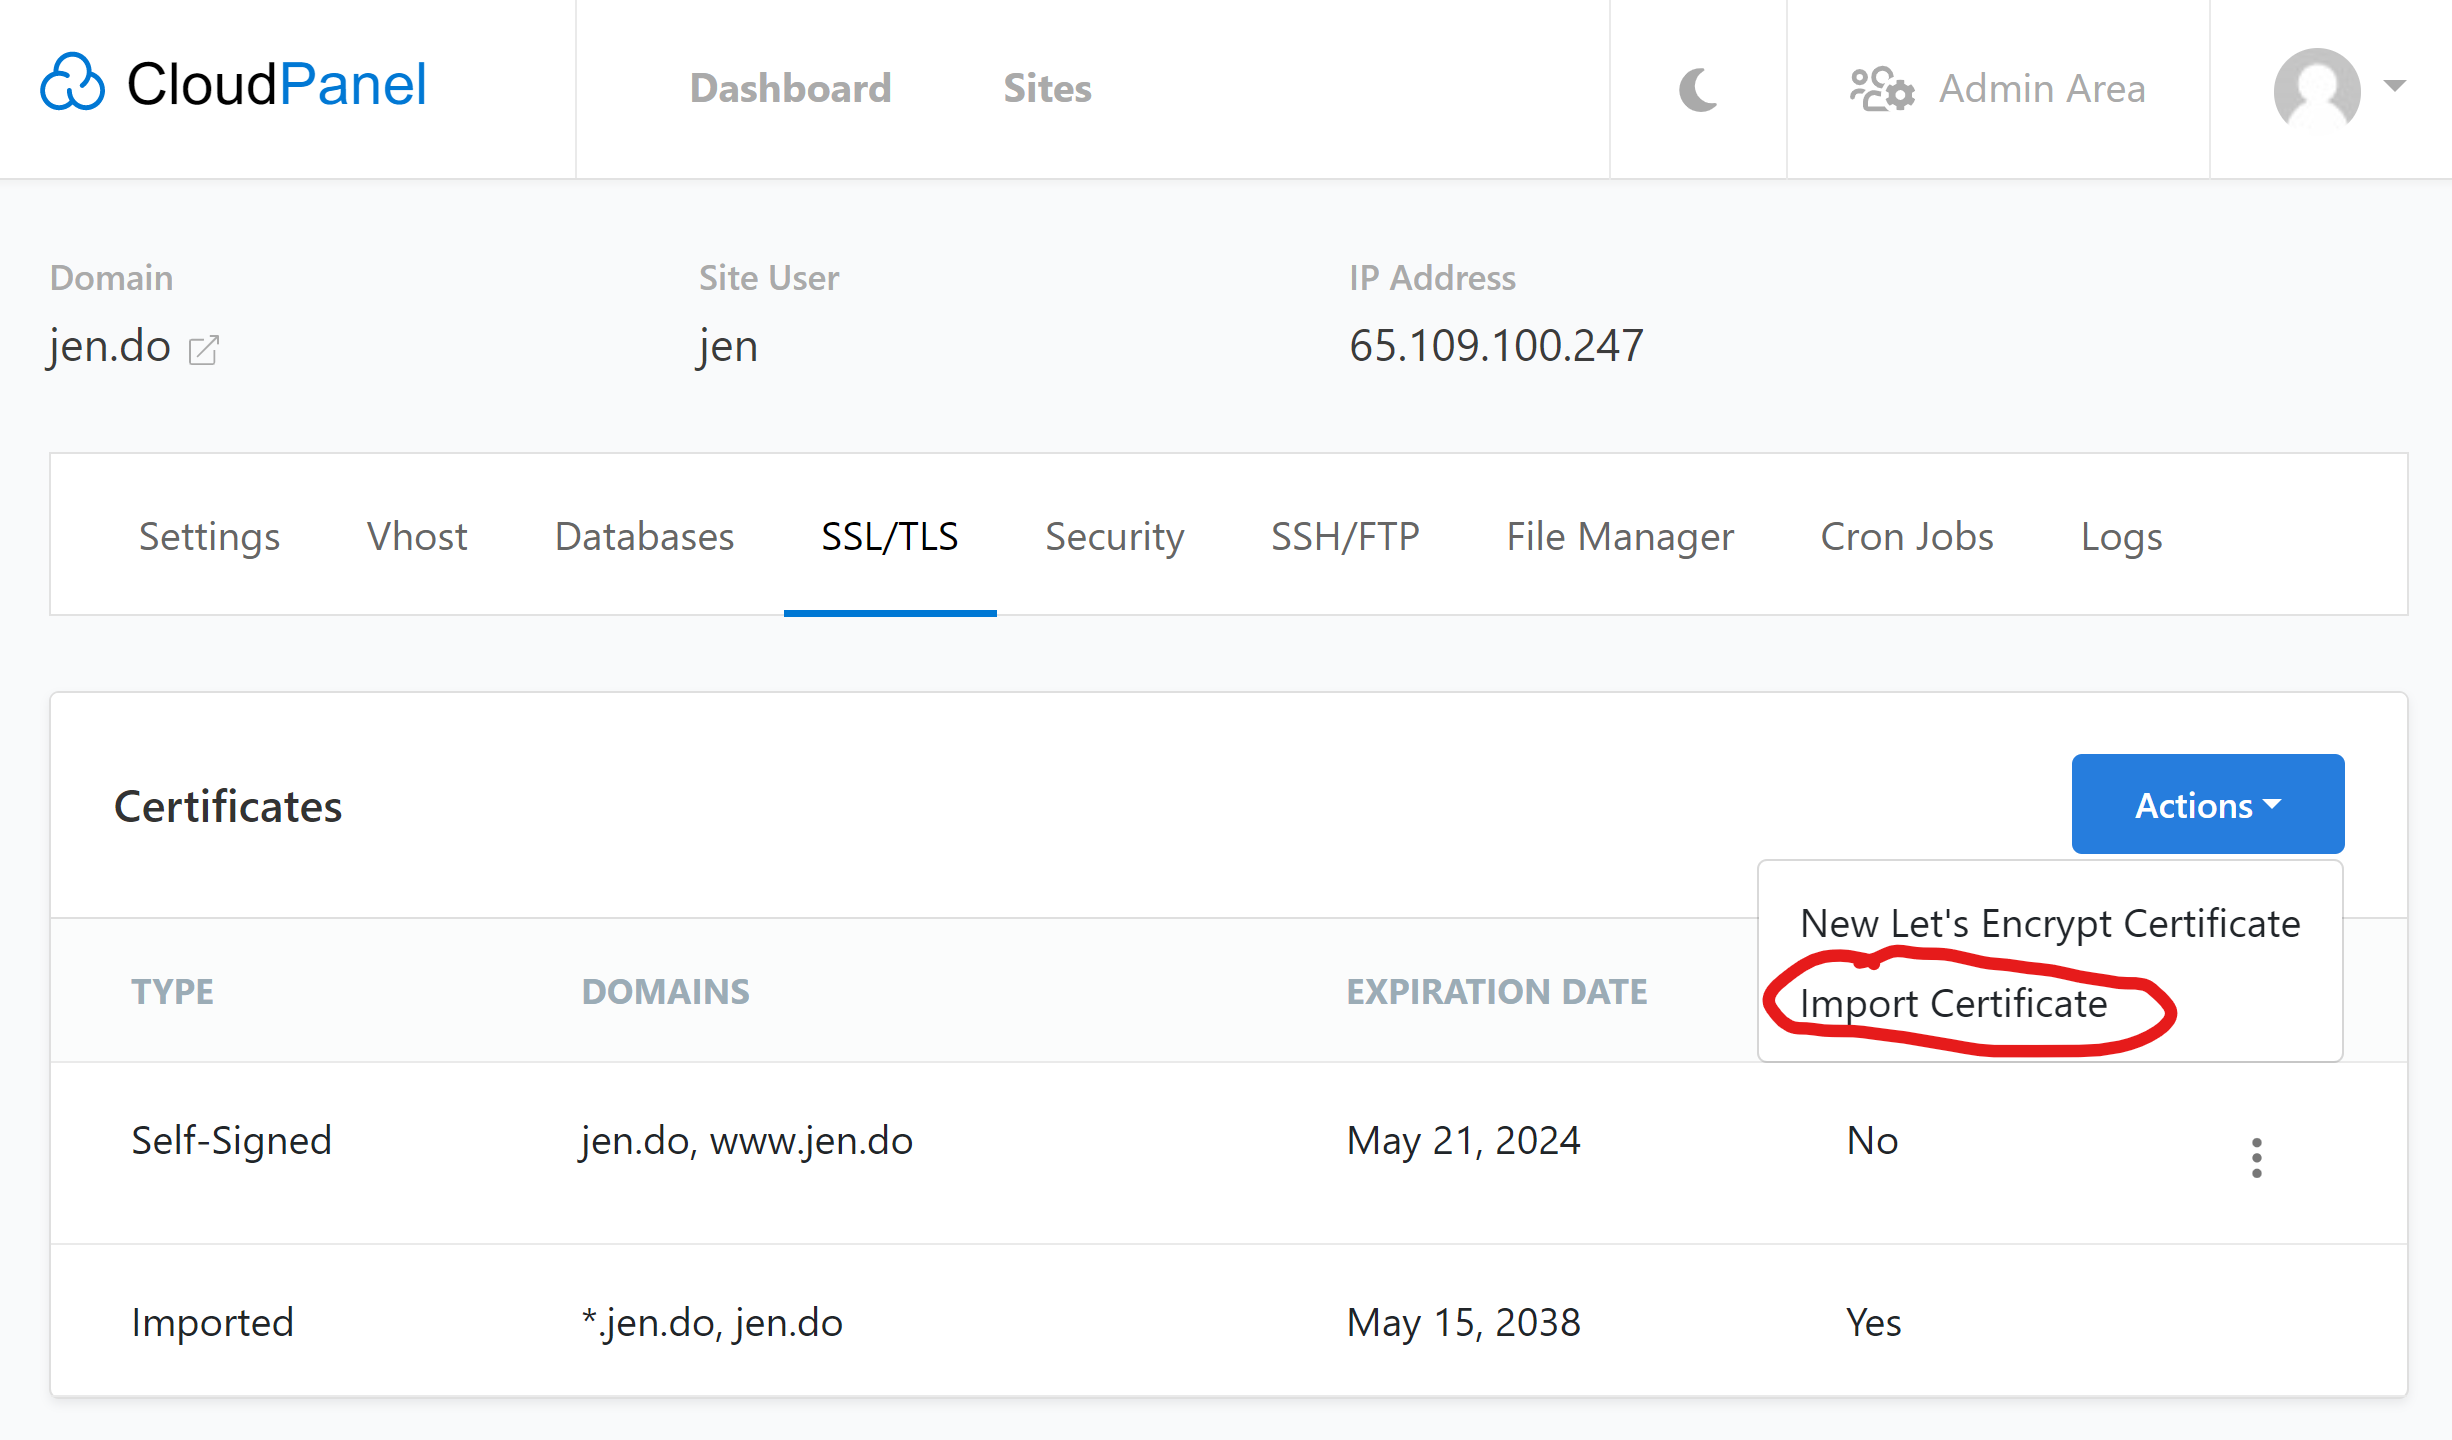
Third, in CloudPanel in the SSL/TLS area of our new site’s settings:
We select to Import the SSL Origin Certificate we downloaded earlier from Cloudflare:
We paste in the 2 blocks of code: the Certificate and the Private Key:
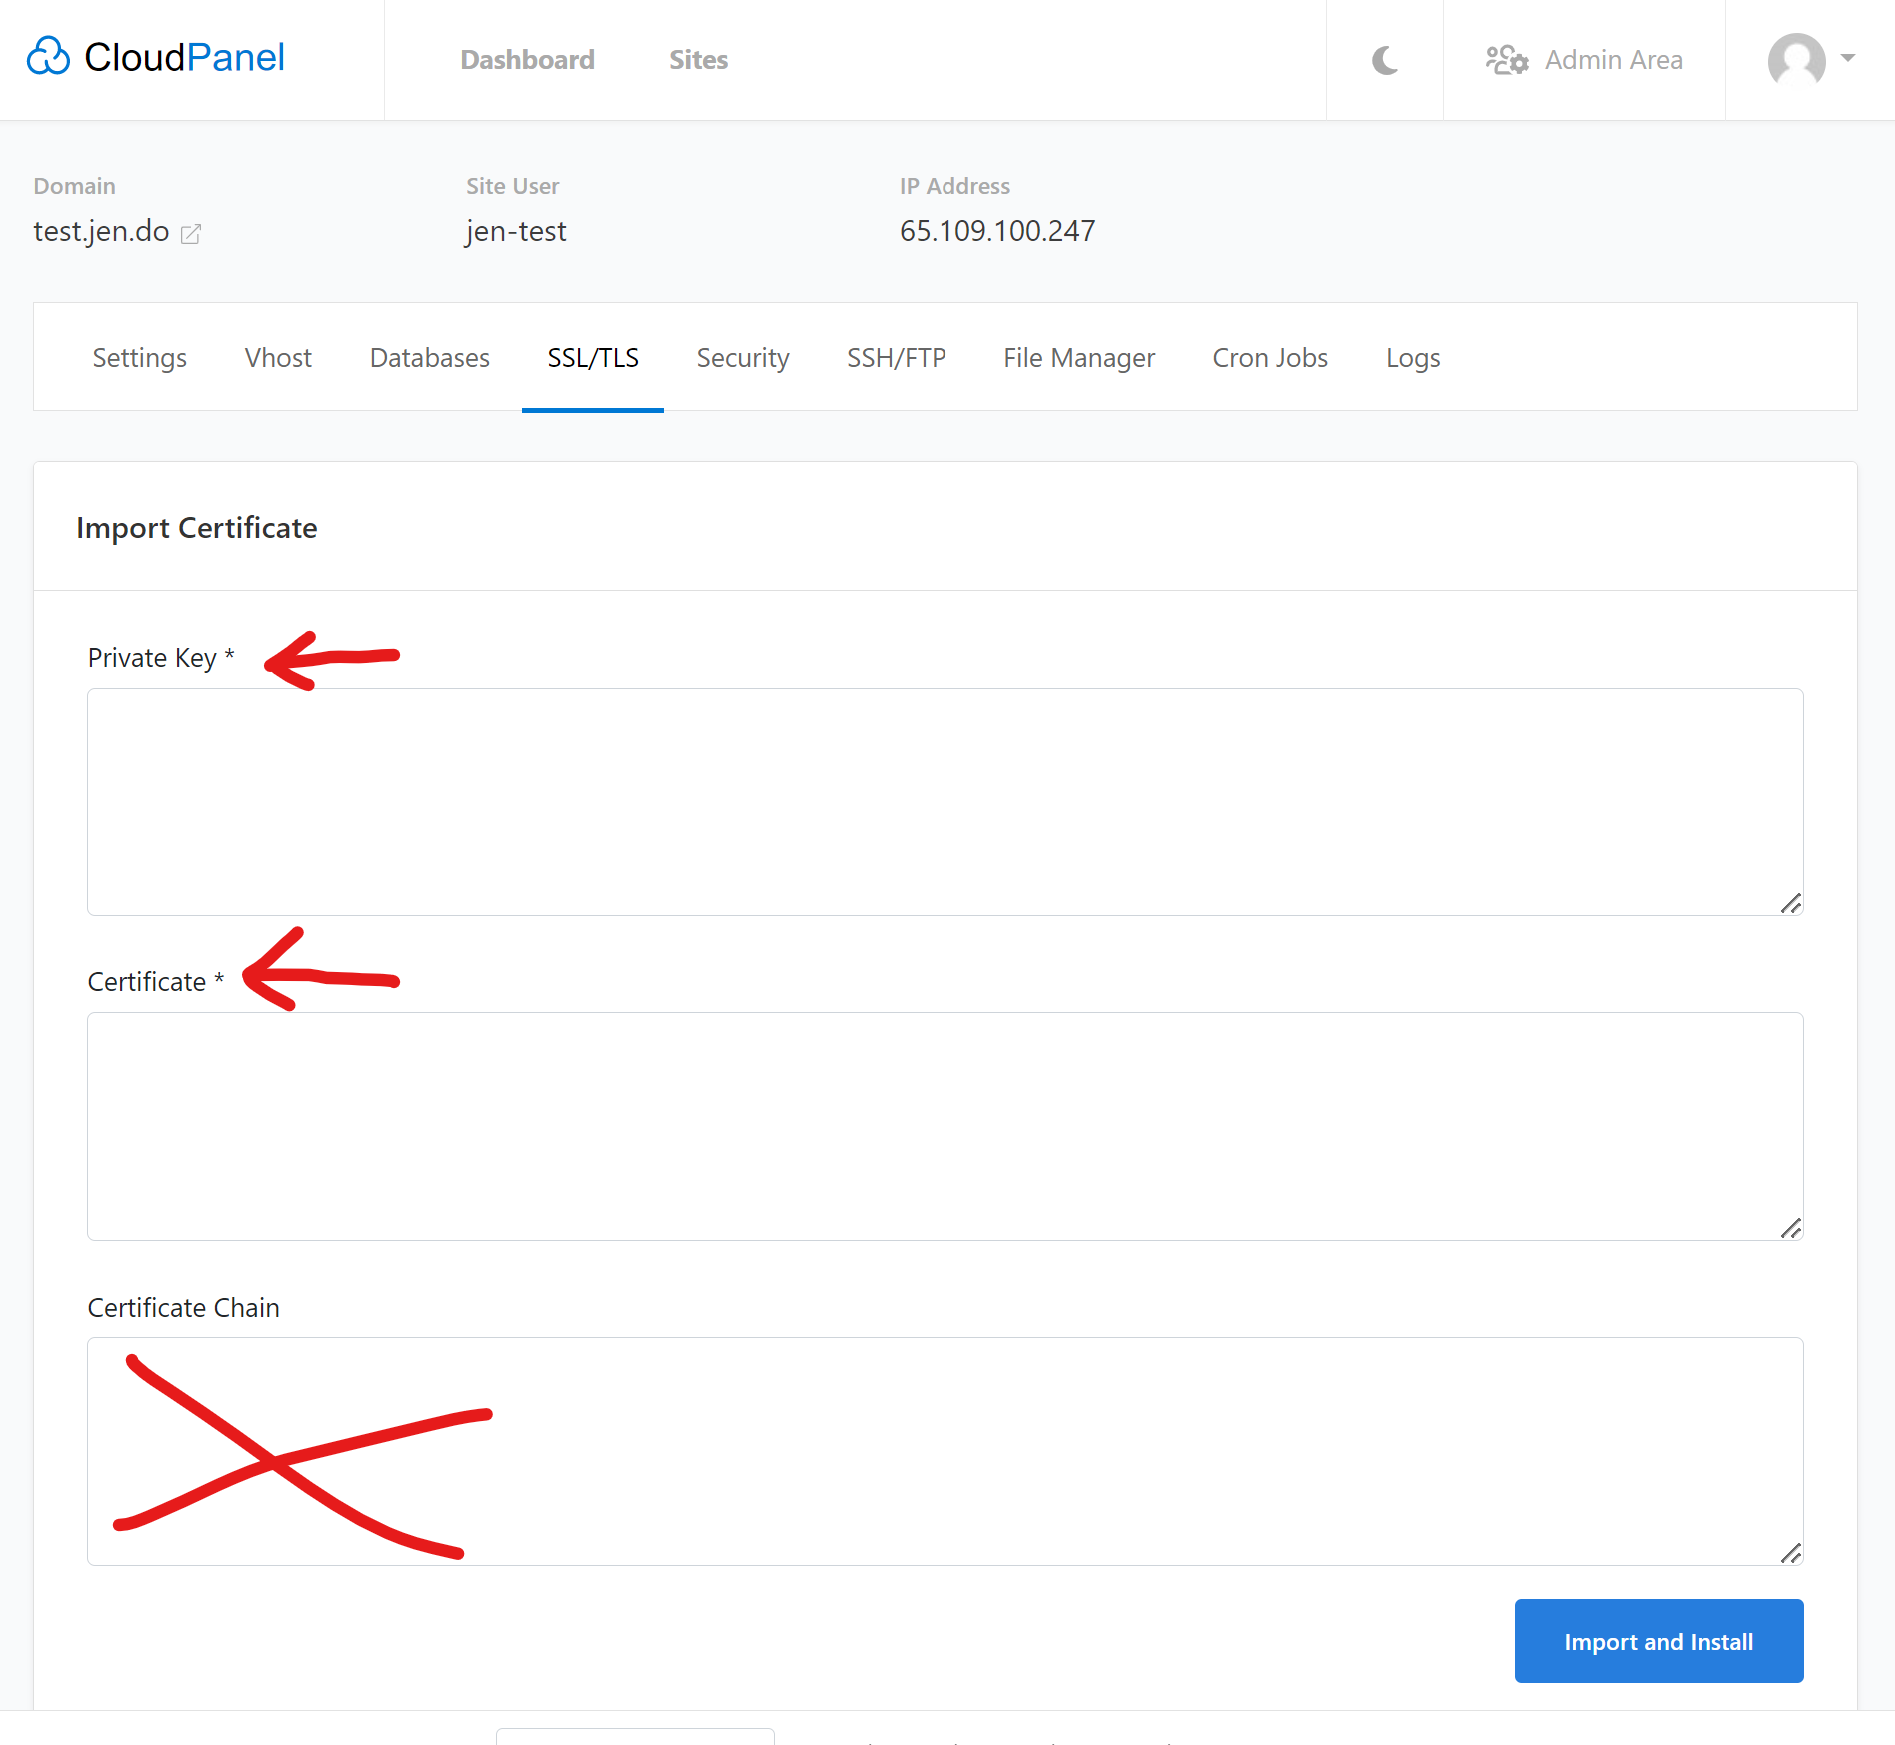
(We can ignore the Certificate Chain field - it is not necessary.)
Ghost Restart
Lastly, in Putty (or other terminal), type:
cd htdocs/siteurl.com
ghost restart
(Things won’t work if you forget this last step.)
Start Blogging!
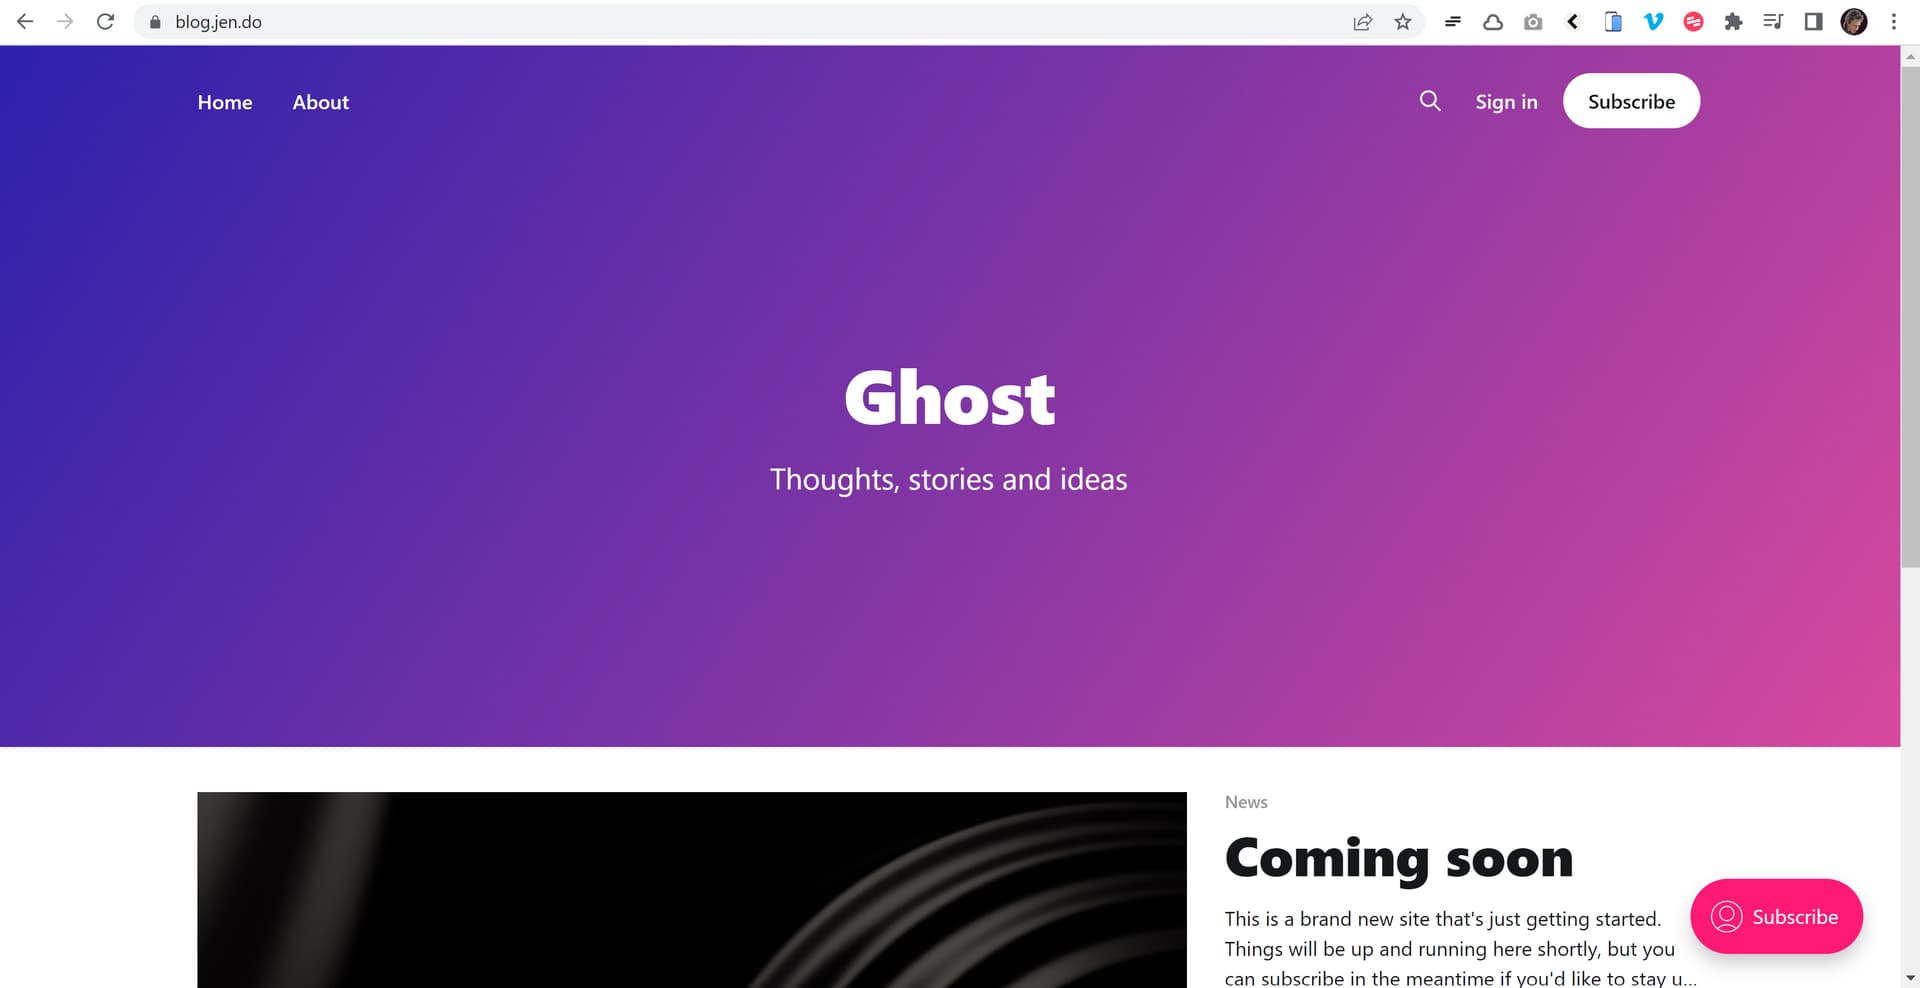
Lastly, go to the URL of your new Ghost Site and you should now see the site there.
During the installation process, Ghost does not create an Admin user by default. To access your Ghost Dashboard, you must first create a Ghost Admin user. This can be done via your browser immediately following the installation process at
(Of course change “example.com” to your new Ghost site’s actual domain name.)
[center][/center]